The work continued on the exterior with wooden bars being added on the outside too. These would then work as ventilation behind the wooden paneling. The paneling was painted once before installation and it shows. Another paint layer was done later.
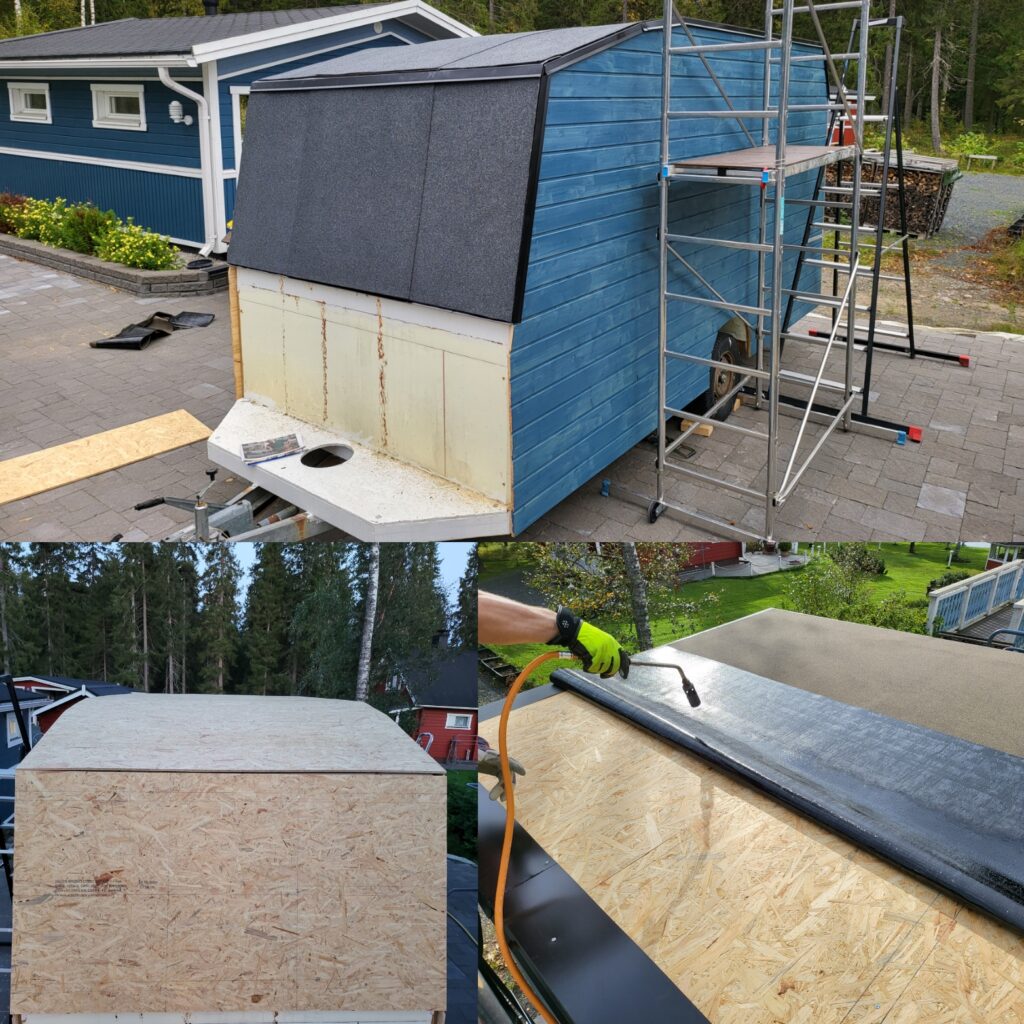
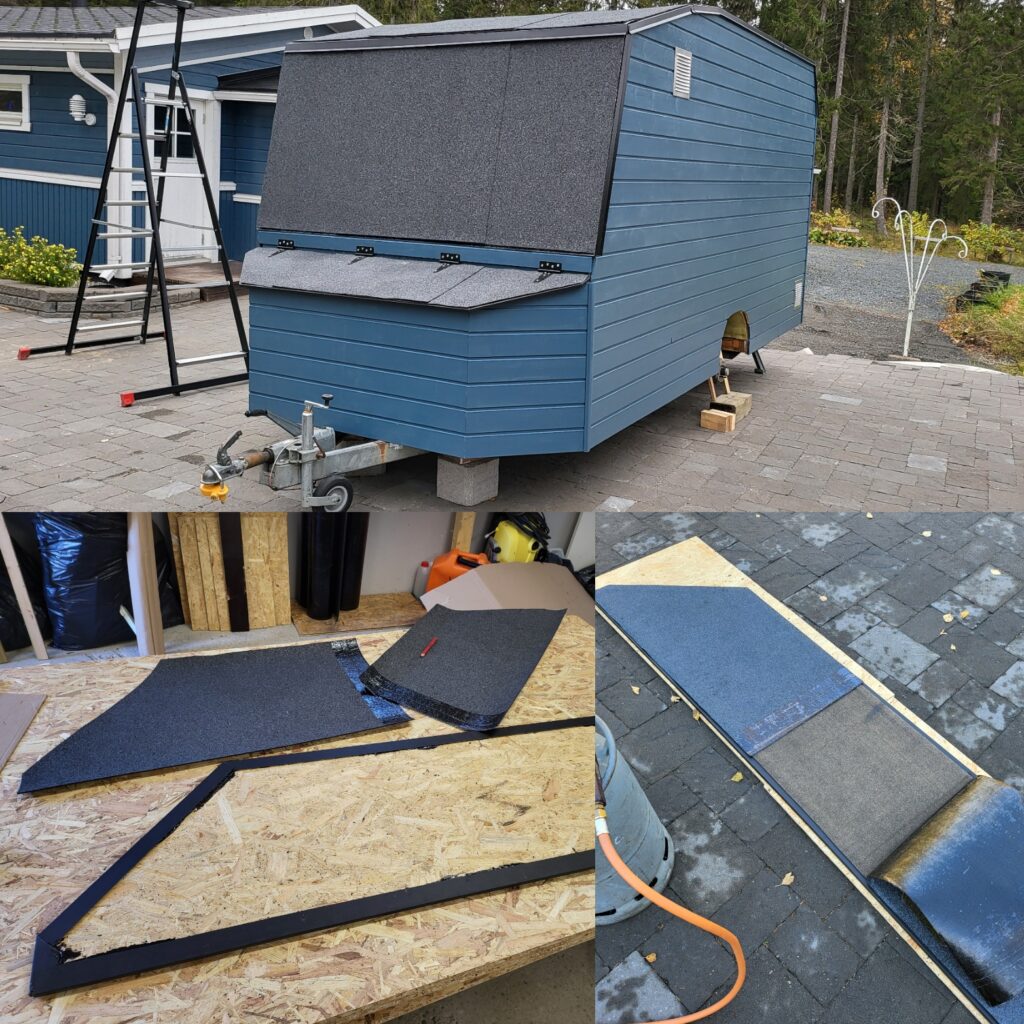
To get the caravan weather proof we also needed a roof. For that the wooden bars were first covered with 15 mm OSB board and after that a felt roof was “welded” on it. There were two layers of felt roof so one underneath and one surface layer. There was a small mishap with the hot felt roof as when I turned it I managed to fold it which meant more work as the folded part had to be removed and a new one be welded on there instead. No pictures of this failure though and it didn’t affect the end result. Luckily we had enough material!
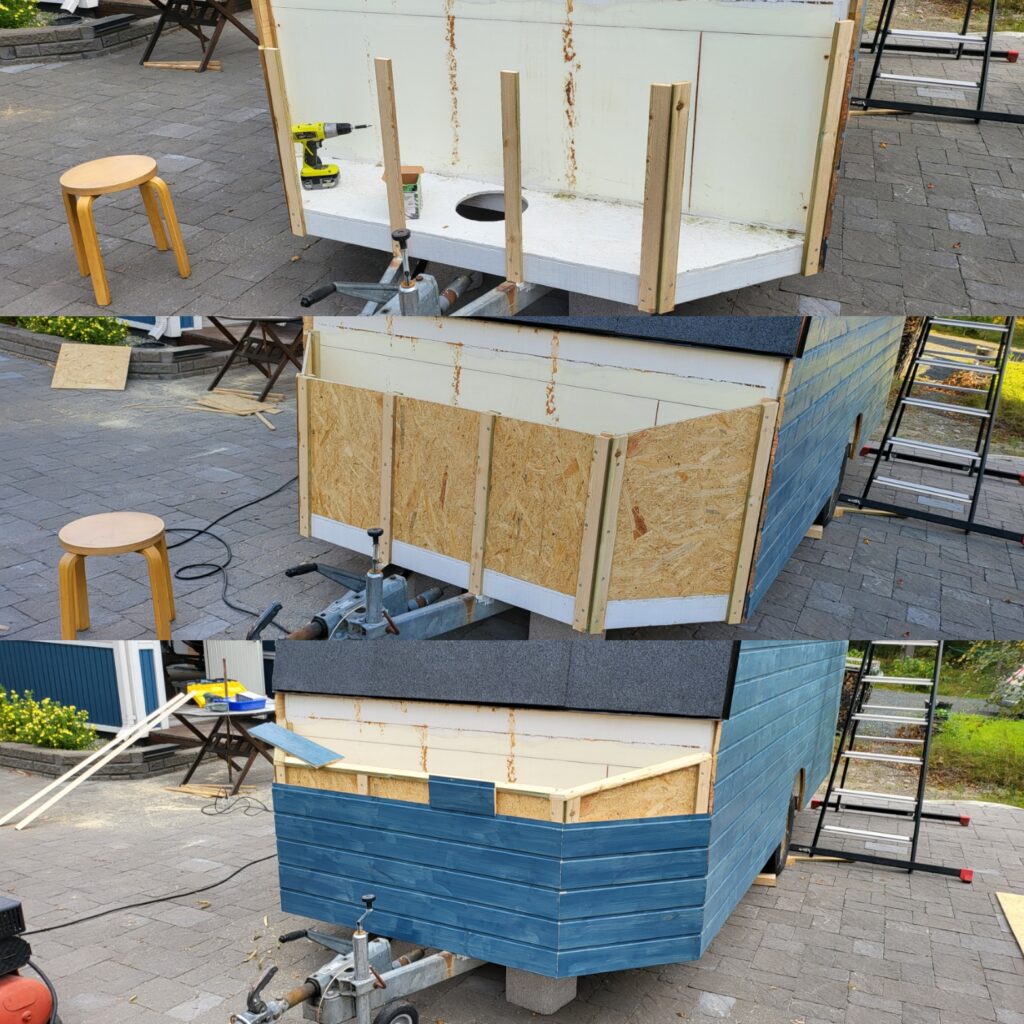
For the weather proofing we also needed the front box done. That took as much time as the side walls while being a lot smaller, but that’s details for you. The use of the front box was at this time still slightly unclear. We knew that all the cables from the brake lights would need to end up there and were planning for the electrical stuff from the inside to also end there.
I ended up ordering the tin-plates for this hatch as bending them without the proper tools was too much of a struggle. The tin plates are like U profile here. The end result looks really neat though so it was worth it. You can also see in these pictures the added ventilation grids as we wanted to make sure the air in the caravan changed well enough. It also has lost the tires as the old ones were really rough looking so we decided to get new ones.
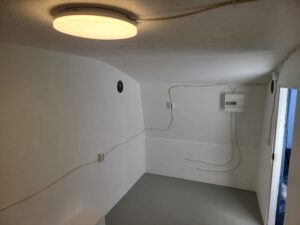
That’s all for the weather proofing of Paukku! There’s less pictures of the work on the insides but I’ll make a separate post about it. We’re also working on the electrical stuff right now so I might add a few pictures of the progress there as well.